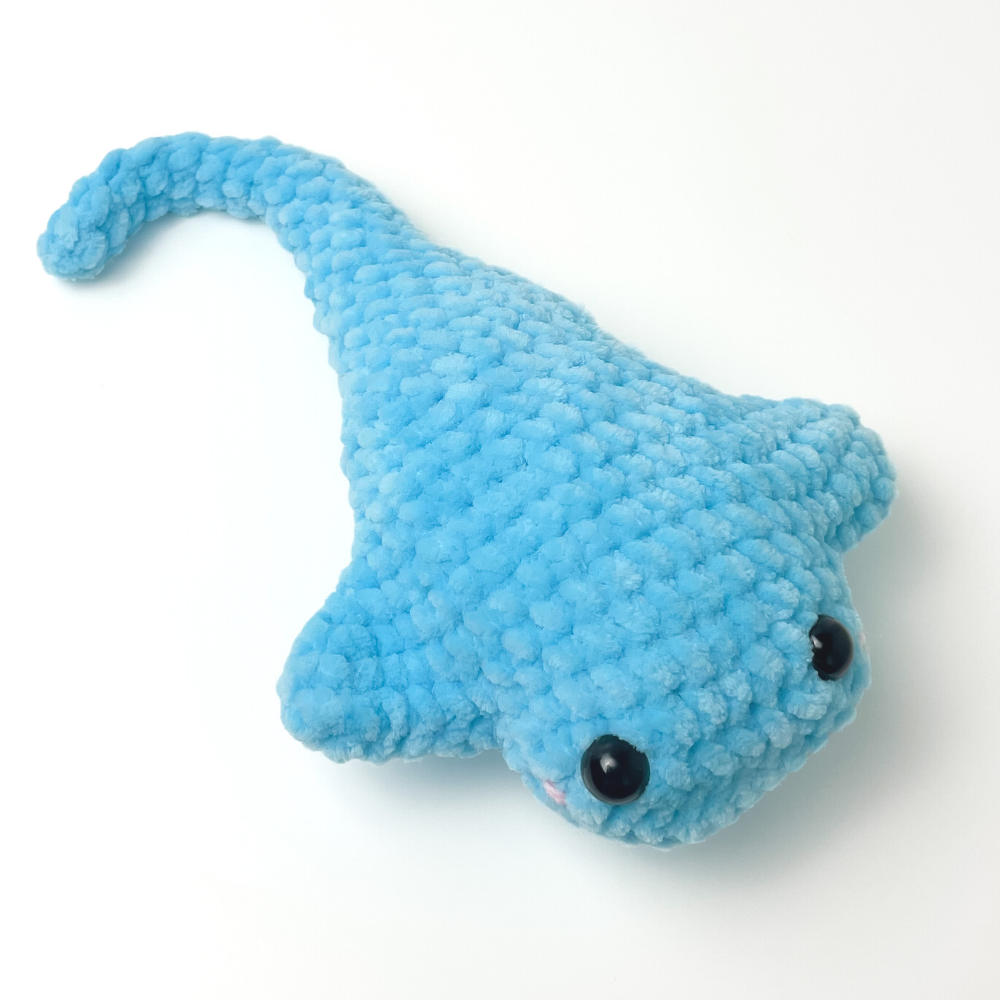
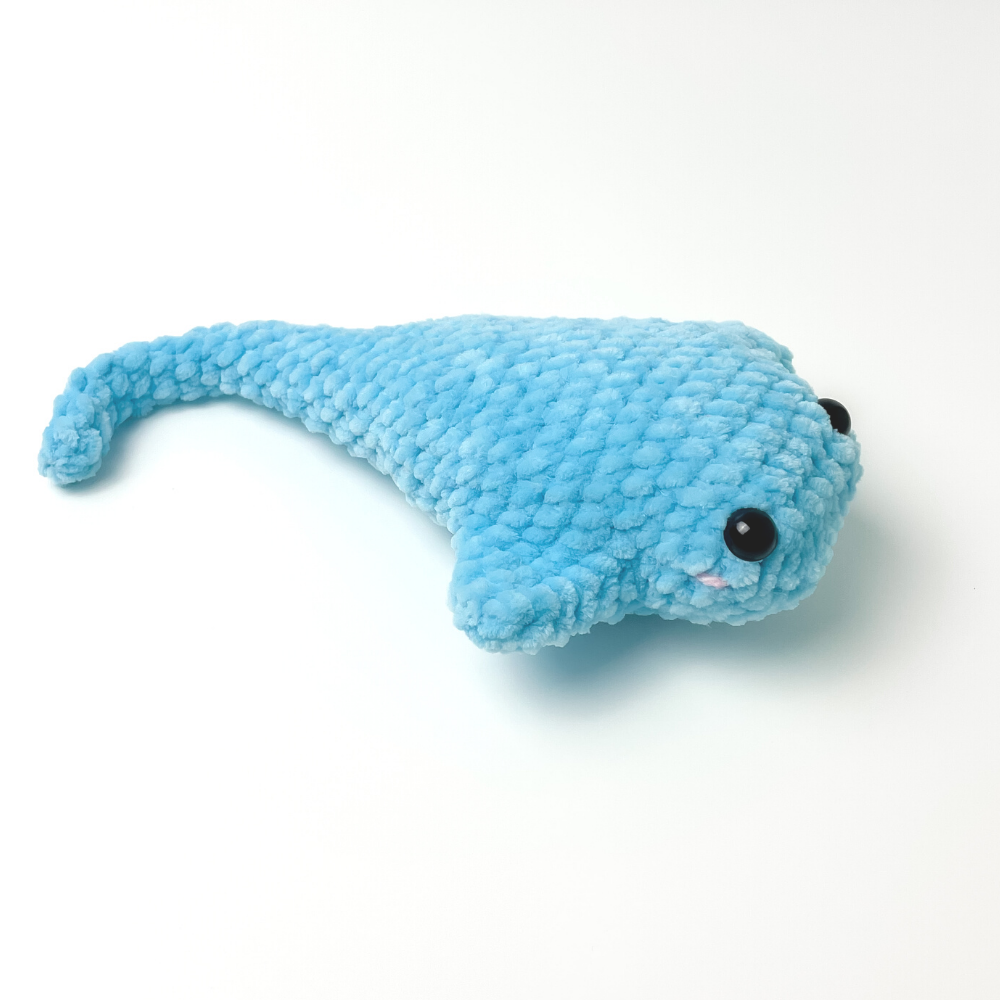
Full Youtube tutorial for this stingray is available here.
This is a really cute and quick crochet stingray. No sewing required! You can make him with a curled or straight tail.
Pattern inspired by Stingray by Yarnolog - this pattern is specifically designed for plush chunky yarn.
Yarn used
- James C Brett Flutterby Chunky
- Small amount of medium weight pink yarn for cheeks
Items used
- US G/4.25mm Crochet Hook- Yarn needle
- 9mm safety eyes
- Poly fill
- Stitch markers (optional)
- Pipe cleaner (optional - for curled tail)
*Please note that safety eyes are NOT recommended for children under the age of 3 years.
• SC: Single crochet
• Ch: Chain stitch
• Sk: skip a stitch
• Sl st: Slip stitch
• Inc: Increase (Stitch 2 SC into the stitch)
• Dec: SC decrease using the invisible method
• (...) x n: Repeat instructions in brackets n times
(We start at the front of the face and work back along the body)
Start with a slip knot. Ch 10.
R1: Start in 2nd ch from hook: 8SC, 3SC in same st, 7SC, 3SC in same st (21)
R2: Inc, 7SC, Inc, SC, Inc, 8SC, Inc, 1SC (25)
R3: 25SC
R4: 12SC, ch 6, 5SC back along ch, base dec, 12SC, ch 6, 5SC back along ch (47)
R5: Dec (base of ch & next st), 11 SC, 4SC in ch, 2 inc, 4SC, 13SC, 4SC in ch, 2 inc, 4SC (49)
(Please see Youtube video tutorial for detailed instruction on how to combine the base of the chain with the next stitch - this ensures there are no gaps!)
R6: 49SC
R7: 17SC, 2 dec, 20SC, 2 dec, 4 SC (45)
R8: Dec, 9SC, dec, 3SC, 2 dec, 3SC, dec, 8SC, dec, 3sc, 2 dec, 3SC (37)
R9: 12SC, 2 dec, 16SC, 2 dec, 1SC (33)
R10: 11SC, 2 dec, 14SC, 2 dec (29)
R11: 10SC, 2 dec, 11SC, 2 dec (25)
R12: Dec, 7SC, dec, 14SC (23)
R13-14: 23SC
Eyes: Between R2 & R3, with 6 or 7 sts between
R15: Dec, (SC, dec) x 7 (15)
R16: 15SC
R17: (3SC, dec) x 3 (12)
R18: 12SC
Stuff the body
R19: (4SC, dec) x 2 (10)
R20-21: 10SC
R22: (3SC, dec) x 2 (8)
R23-24: 8 SC
R25: (2SC, dec) x 2 (6)
R26-34: 6SC
Close and cut the yarn. Sew the hole closed.
Abbreviations and stitches
• St(s): Stitch(es)• SC: Single crochet
• Ch: Chain stitch
• Sk: skip a stitch
• Sl st: Slip stitch
• Inc: Increase (Stitch 2 SC into the stitch)
• Dec: SC decrease using the invisible method
• (...) x n: Repeat instructions in brackets n times
Pattern
(We start at the front of the face and work back along the body)Start with a slip knot. Ch 10.
R1: Start in 2nd ch from hook: 8SC, 3SC in same st, 7SC, 3SC in same st (21)
R2: Inc, 7SC, Inc, SC, Inc, 8SC, Inc, 1SC (25)
R3: 25SC
R4: 12SC, ch 6, 5SC back along ch, base dec, 12SC, ch 6, 5SC back along ch (47)
R5: Dec (base of ch & next st), 11 SC, 4SC in ch, 2 inc, 4SC, 13SC, 4SC in ch, 2 inc, 4SC (49)
(Please see Youtube video tutorial for detailed instruction on how to combine the base of the chain with the next stitch - this ensures there are no gaps!)
R6: 49SC
R7: 17SC, 2 dec, 20SC, 2 dec, 4 SC (45)
R8: Dec, 9SC, dec, 3SC, 2 dec, 3SC, dec, 8SC, dec, 3sc, 2 dec, 3SC (37)
R9: 12SC, 2 dec, 16SC, 2 dec, 1SC (33)
R10: 11SC, 2 dec, 14SC, 2 dec (29)
R11: 10SC, 2 dec, 11SC, 2 dec (25)
R12: Dec, 7SC, dec, 14SC (23)
R13-14: 23SC
Eyes: Between R2 & R3, with 6 or 7 sts between
R15: Dec, (SC, dec) x 7 (15)
R16: 15SC
R17: (3SC, dec) x 3 (12)
R18: 12SC
Stuff the body
R19: (4SC, dec) x 2 (10)
R20-21: 10SC
R22: (3SC, dec) x 2 (8)
R23-24: 8 SC
R25: (2SC, dec) x 2 (6)
R26-34: 6SC
Close and cut the yarn. Sew the hole closed.
Embroider the cheeks if desired.
Insert pipe cleaner into the tail if you want it curved.
**Please note: the video tutorial has the last two lines of the pattern numbered incorrectly, as it misses round 25. The pattern steps remain the same, however.


Post a Comment